实验报告
填写时间:2015/10/14
第二篇:J2EE实验报告

实验报告本
实 验 类 别 学 院 专 业 班 级 姓名 、学号 指 导 教 师
实验日期自 20xx年 11 月 1 日至 2010 年 12月 23日止
J2EE平台技术课程实习
目录
1. 摘要 ............................................................................................................................................ 1
2. 实验内容 .................................................................................................................................... 1
1.1. 目标 ................................................................................................................................. 1
1.2. 需求分析 ......................................................................................................................... 1
1.3. 采用技术 ......................................................................................................................... 1
1.4. 模块设计 ......................................................................................................................... 1
1.5. 编码实现 ......................................................................................................................... 2
3. 实验完成情况 ............................................................................................................................ 9
4. 实验总结 .................................................................................................................................. 10
J2EE平台技术课程实习
开发Struts 2、Spring集成程序
1. 摘要
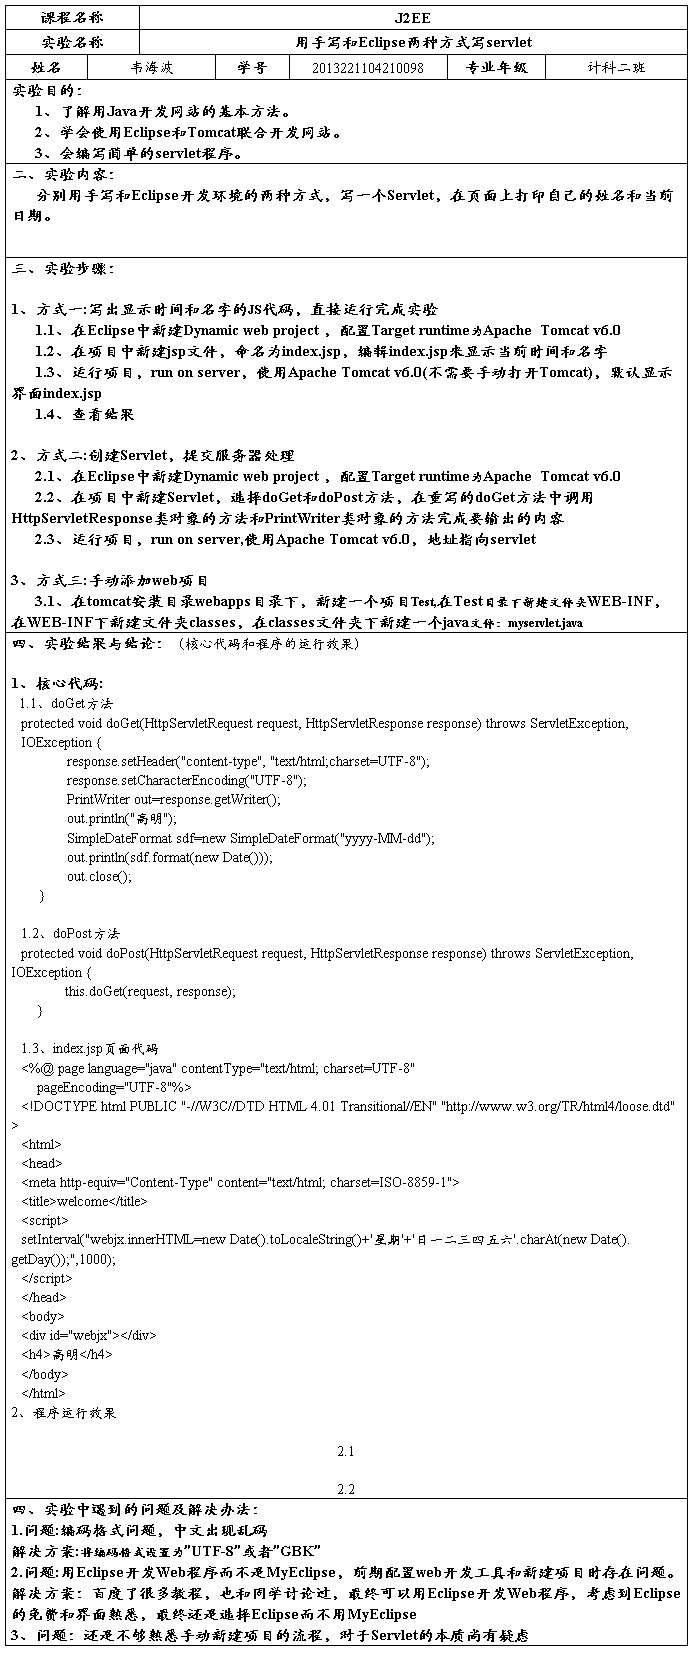
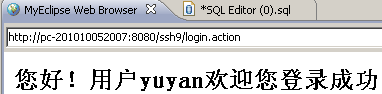
在此,将三个框架Struts,Hibernate和Spring做一个集成,开发一个简单项目。在这个项目中,用户在登录页面输入登录名和密码,则跳转到另外一个欢迎页面,反之,将进入失败页面。
2. 实验内容
1.1. 目标
用户在登录页面输入登录名和密码,则跳转到另外一个欢迎页面,反之,将进入失败页面。
1.2. 需求分析
登录界面几乎是所有网站都会用到的功能,因此登陆界面制作的技术是需要不断的学习,不断的提高的。登录需要往数据库中查询,因此数据库的应用不可忽视。
1.3. 采用技术
j2ee,struts2,hibernate,spring.
1.4. 模块设计
1.完成ssh9
1) 创建数据库
2) 创建Web Project,名为ssh9
3) 添加Struts 2框架
4) 创建login.jsp
5) 创建LoginAction.java
6) 创建login_success.jsp
7) 创建login_error.jsp
8) 部署,测试struts2
2.集成Spring
9) 添加Spring框架
10) 添加Struts spring支持包spring-struts-plugin-2.0.11.jar
11) 修改web.xml内容
1
J2EE

平台技术课程实习
12) 创建struts.properties
13) 修改struts.xml
14) 修改applicationContext.xml
15) 部署测试
3.加载Hibernate框架
16) 添加Spring框架
17) 修改LoginAction.java
18) 修改applicationContext.xml
19) 部署测试
1.5. 编码实现
数据库内容如下:
建表语句:
CREATE TABLE user(
id int(10) not null auto_increment,
username varchar(10) not null,
password varchar(10) not null,
primary key (id)
)ENGINE=InnoDB DEFAULT CHARSET=GBK; 其中已有数据:
LoginAction.java代码如下: package org;
import java.util.List;
import org.hibernate.SessionFactory;
import org.hibernate.Query;
import org.hibernate.classic.Session;
import com.opensymphony.xwork2.ActionSupport; public class LoginAction extends ActionSupport{ private String username;
private String password;
private SessionFactory sessionFactory; public String getUsername(){
return username;
}
2
J2EE平台技术课程实习
public void setUsername(String username){
this.username=username;
}
public String getPassword(){
return password;
}
public void setPassword(String password){
this.password=password;
}
public SessionFactory getSessionFactory(){
return sessionFactory;
}
public void setSessionFactory(SessionFactory sessionFactory){
this.sessionFactory=sessionFactory;
}
public String execute() throws Exception{
Session session=sessionFactory.openSession();
String hql="from User u where u.username=? and u.password=?";
Query query=session.createQuery(hql);
query.setParameter(0,username);
query.setParameter(1,password);
List user=query.list();
session.close();
if(user.size()>0){
return SUCCESS;
}
else{
return ERROR;
}
}
}
User.hbm.xml代码如下:
<?xml version="1.0" encoding="utf-8"?>
<!DOCTYPE hibernate-mapping PUBLIC "-//Hibernate/Hibernate Mapping DTD 3.0//EN" "/hibernate-mapping-3.0.dtd">
<!--
Mapping file autogenerated by MyEclipse Persistence Tools
3
J2EE平台技术课程实习
-->
<hibernate-mapping>
<class name="org.User" table="user" catalog="test">
<id name="id" type="java.lang.Integer">
<column name="id" />
<generator class="native" />
</id>
<property name="username" type="java.lang.String">
<column name="username" length="10" not-null="true" />
</property>
<property name="password" type="java.lang.String">
<column name="password" length="10" not-null="true" />
</property>
</class>
</hibernate-mapping>
User.hbm.xml代码如下:
package org;
import org.hibernate.HibernateException;
import org.hibernate.Session;
import org.hibernate.cfg.Configuration;
public class HibernateSessionFactory {
private static String CONFIG_FILE_LOCATION = "/hibernate.cfg.xml";
private static final ThreadLocal<Session> threadLocal = new ThreadLocal<Session>(); private static Configuration configuration = new Configuration();
private static org.hibernate.SessionFactory sessionFactory;
private static String configFile = CONFIG_FILE_LOCATION;
static {
try {
configuration.configure(configFile);
sessionFactory = configuration.buildSessionFactory();
} catch (Exception e) {
System.err
.println("%%%% Error Creating SessionFactory %%%%"); e.printStackTrace();
}
}
4
J2EE平台技术课程实习
private HibernateSessionFactory() {
}
public static Session getSession() throws HibernateException {
Session session = (Session) threadLocal.get();
if (session == null || !session.isOpen()) {
if (sessionFactory == null) {
rebuildSessionFactory();
}
session = (sessionFactory != null) ? sessionFactory.openSession() : null;
threadLocal.set(session);
}
return session;
}
public static void rebuildSessionFactory() {
try {
configuration.configure(configFile);
sessionFactory = configuration.buildSessionFactory();
} catch (Exception e) {
System.err
.println("%%%% Error Creating SessionFactory %%%%"); e.printStackTrace();
}
}
public static void closeSession() throws HibernateException {
Session session = (Session) threadLocal.get();
threadLocal.set(null);
if (session != null) {
session.close();
}
}
public static org.hibernate.SessionFactory getSessionFactory() {
return sessionFactory;
}
public static void setConfigFile(String configFile) {
5
J2EE平台技术课程实习
HibernateSessionFactory.configFile = configFile; sessionFactory = null;
}
public static Configuration getConfiguration() { return configuration;
}
}
LoginAction.java代码如下:
package org;
public class User implements java.io.Serializable { private Integer id;
private String username;
private String password;
public User() {
}
public User(String username, String password) { this.username = username;
this.password = password;
}
public Integer getId() {
return this.id;
}
public void setId(Integer id) {
this.id = id;
}
public String getUsername() {
return this.username;
}
public void setUsername(String username) { this.username = username;
}
public String getPassword() {
return this.password;
}
public void setPassword(String password) { this.password = password;
}
6
J2EE平台技术课程实习
}
配置struts.xml文件,代码如下:
<!DOCTYPE struts PUBLIC
"-//Apache Software Foundation//DTD Struts Configuration 2.0//EN" "/dtds/struts-2.0.dtd">
<struts>
<include file="struts-default.xml"/>
<package name="default" extends="struts-default">
<action name="login" class="org.LoginAction">
<result name="error">/login_error.jsp</result>
<result name="success">/login_success.jsp</result> </action>
</package>
</struts>
创建login.jsp,代码如下:
<%@ page contentType="text/html;charset=gb2312" %>
<%@ taglib prefix="s" uri="/struts-tags" %>
<html>
<head><title>登录页面</title></head>
<body>
<form action="login.action" method="post">
用户登录<br>
用户名:<input type="text" name="username"/><br>
密码:<input type="password" name="password"/><br> <input type="submit" value="登录"/><br>
</form>
</body>
</html>
创建login_success.jsp,代码如下:
<%@ page contentType="text/html;charset=gb2312" %>
<%@ taglib prefix="s" uri="/struts-tags" %>
<html>
<body>
<h2>您好!用户<s:property value="username"/>欢迎您登录成功</h2> </body>
7
J2EE平台技术课程实习
</html>
创建login_error.jsp,代码如下:
<%@ page contentType="text/html;charset=gb2312" %>
<%@ taglib prefix="s" uri="/struts-tags" %>
<html>
<body>
<h2>登录失败</h2>
</body>
</html>
修改web.xml内容,使得程序增加对Spring的支持 <?xml version="1.0" encoding="UTF-8"?>
<web-app version="2.5"
xmlns="/xml/ns/javaee"
xmlns:xsi="/2001/XMLSchema-instance"
xsi:schemaLocation="/xml/ns/javaee
/xml/ns/javaee/web-app_2_5.xsd">
<filter>
<filter-name>struts2</filter-name>
<filter-class>org.apache.struts2.dispatcher.FilterDispatcher</filter-class> </filter>
<filter-mapping>
<filter-name>struts2</filter-name>
<url-pattern>/*</url-pattern>
</filter-mapping>
<listener>
<listener-class>
org.springframework.web.context.ContextLoaderListener </listener-class>
</listener>
<context-param>
<param-name>contextConfigLocation</param-name>
<param-value>
/WEB-INF/classes/applicationContext.xml
</param-value>
</context-param>
<welcome-file-list>
8
J2EE平台技术课程实习
<welcome-file>index.jsp</welcome-file>
</welcome-file-list>
</web-app>
使得struts 2的类(struts.properties)的生成交给Spring完成。 struts.objectFactory=spring
修改applicationContext.xml
<?xml version="1.0" encoding="utf-8"?>
<!DOCTYPE beans PUBLIC "-//SPRING//DTD BEAN "/dtd/spring-beans-2.0.dtd">
<beans>
<bean id="dataSource"
class="mons.dbcp.BasicDataSource">
<property name="driverClassName"
value="com.mysql.jdbc.Driver">
</property>
<property name="url" value="jdbc:mysql://localhost:3306/test"></property> <property name="username" value="root"></property>
<property name="password" value="kcw406880"></property>
</bean>
<bean id="sessionFactory"
class="org.springframework.orm.hibernate3.LocalSessionFactoryBean"> <property name="dataSource">
<ref bean="dataSource" />
</property>
<property name="hibernateProperties">
<props>
<prop key="hibernate.dialect">
org.hibernate.dialect.MySQLDialect
</prop>
</props>
</property>
<property name="mappingResources">
<list>
<value>org/User.hbm.xml</value></list>
</property></bean>
<bean id="login" class="org.LoginAction">
<property name="sessionFactory">
<ref bean="sessionFactory"/>
</property>
</bean>
2.0//EN" 9
J2EE平台技术课程实习
</beans>
3. 实验完成情况
程序运行:

输入后的结果:
或
完成的结果和预期一致,因此程序正确无误。
4. 实验总结
通过这次的实验我掌握了struts2,hibernate,spring技术的应用,使我有了基本的使用myeclipse来制作jsp网站的基础技术。
10